Howard Miller clock repair manual +3 Tips, Included with the clock in the shipping carton will be a key for winding the clock. If provided on your model, the shipping carton may include an individually packaged pendulum and rigging. Please keep all original packaging materials. Contact us as clock repair near me for all your questions and get free information.
WARNING: KEEP PLASTIC BAGS AND SMALL PARTS AWAY FROM CHILDREN
Access to the clock movement and chimes is provided on the back of the clock. Rubber bands, foam, styrofoam, metal and cardboard to secure the movement and chimes during shipping. Cut the rubber bands with scissors and discard.
DO NOT PULL THE TIRE TO BREAK IT
Howard Miller clock repair manual, remove the foam, styrofoam and cardboard around the movement and bells. direction shown to remove. (See figures 1 and 2) For pendulum clocks, cut the rubber band or release one end first to remove the metal spring clip from the back of the mechanism. (See figure 2). Open the front door and remove the white plastic part that holds the minute hand in the 3:00 position (this part is not used on all models). Follow any other instructions that apply to your clock. NOTE: Howard Miller recommends using cotton gloves or a soft cloth when handling the parts to perform the following steps.
Some pendulums have a colored protective plastic film covering the pendulum disc. Remove this carefully. film before hanging the pendulum. To hang the pendulum, locate the pendulum guide through the front door or rear access panel. While holding the pendulum guide with one hand, slide the pendulum through the front door with the other hand. Place the pendulum hook on the pin or the slot at the end of the pendulum guide and lower the pendulum until it hangs securely over the pendulum guide. (See figure 2).
FOR WATCHES WITH HANGER WEIGHT
Follow these instructions for hanging weights. Do not remove Styrofoam blocks that have been running for at least eight (8) hours. Check the weights to make sure the weights are firmly attached. Check to make sure the cable is on the cable reel. Hang the weights on the reel. (See figure 3).
• FOR ALL CLOCKS – SETTING THE TIME
To adjust the time, ONLY move the minute hands counterclockwise (backward) until the hour and minute hands are at the correct time. (See figure 4).
DO NOT MOVE THE SCORPIO WHILE SETTING THE TIME.
The hour hand will move automatically when the minute hand is moved. By moving the minute hand counterclockwise, there is no need to wait for the clock to ring, as the minute hand passes every quarter hour. If the clock is not ringing properly after setting it on time, let it run for 12 hours to correct itself.
FOR ALL HOURS – START TIME
If the clock is set, pendulumless clocks will run automatically. go through the front door of the clock and put your hand on the side of the pendulum disc. Move the pendulum to the far left of center and release. Let the clock run for a few minutes until the pendulum settles into an even swinging motion. (See figure 5). If your clock gains or loses time after 24 hours, refer to the General Information Section to edit your watch’s timekeeping.
GENERAL INFORMATION PRODUCT INFORMATION LABEL
The product information label identifies the model number and serial number of the clock. The clock model number and serial number are required to obtain parts or service. The product information label is located on the back or bottom of the clock. Refer to this label when contacting your dealer or Howard Miller. Take a moment to record these numbers in the space provided on page 5 of these instructions for easy future reference. Attach your sales receipt to this guide for future reference.
WINDING YOUR CLOCK
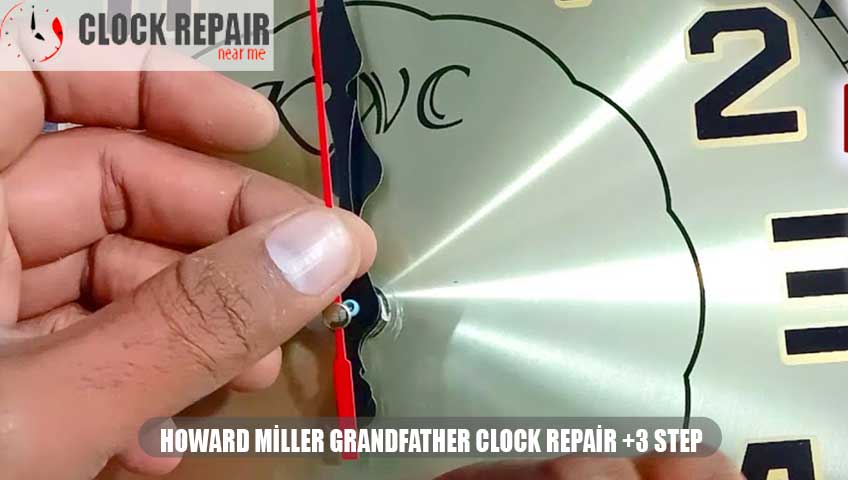
Insert the winding key into the holes on the dial face. (See figure 6). Depending on the model of your clock, it may have 1, 2 or 3 wind-up keyholes. Turn the key clockwise until the spring tightens and can no longer turn. For clocks with suspended weights, lift the weights using the crank. DO NOT lift weights by hand while cranking. Set your clock once a week.
SETTING THE TIME
Day 1. Select a time of day that will allow you to check your clockat the same time for at least six days. Recording time selected 3. Check the correct time.4. Reset the minute hand to the exact and correct time. Day Two, Three, Four, Five, Six (If Necessary)1. Check the correct time.2. Compare the time shown on your clockto the correct time. Is your clockfast or slow? 3. Set as detailed in “Pendulum Clocks” or “Pendulumless Clocks”.4. Check the correct time.5. Set the minute hand to the exact and correct time. Pendulum Clocks Changing the timekeeping speed is accomplished by moving the pendulum disc up or down. The pendulum disk is moved up or down by turning the adjusting nut. To slow down the clock, move the pendulum disc down by turning the adjusting nut to the left. To speed up the clock, move the pendulum disc up by turning the adjusting nut to the right. (See figure 7). Turn the adjusting nut one full turn, fast or slow, once a day for every half minute. (24 hours). Clocks Without Pendulums Changing the timekeeping speed is accomplished by moving the timer lever. (See figure 1). Move the lever down towards “-” (minus) to slow down the clock. Move the handle towards the “+” (plus) direction to speed up the clock.